如何让iTerm2更好用
iTerm2一直被誉为mac上最好用的终端。集效率与颜值于一身。
但是想让iTerm2符合我们的使用习惯,还是需要一些简单的设置。
安装iTerm2与事前准备
iTerm2官网可以免费下载iTerm2,下载并将其拖入Application文件夹。
按照苹果官网说明文档将zsh用作默认的shell。
安装Oh My Zsh
你可以执行以下命令安装Oh My Zsh
sh -c "$(curl -fsSL https://raw.github.com/ohmyzsh/ohmyzsh/master/tools/install.sh)"
简单配置外观
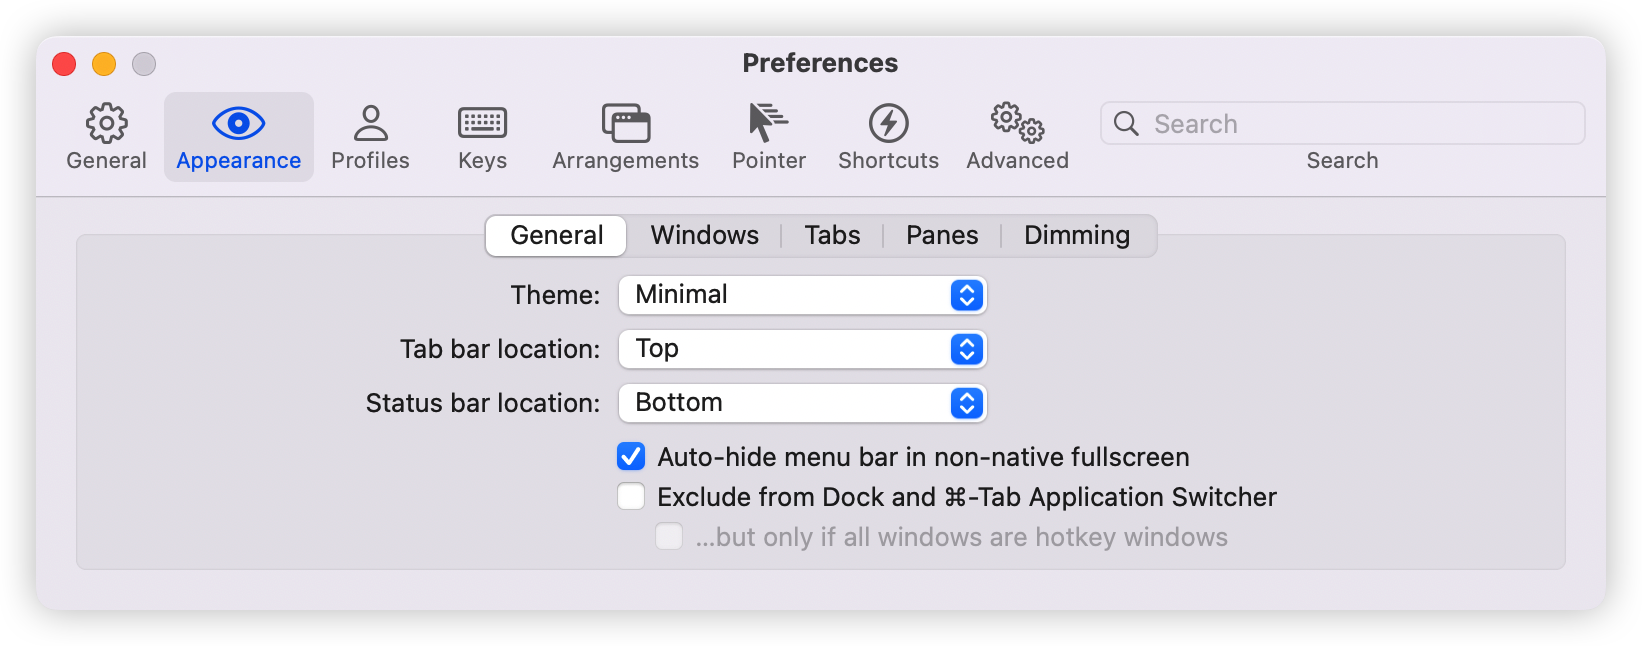
首先按快捷键Command+,调出配置界面
然后选择Appearance,在General选项卡中按如下调整
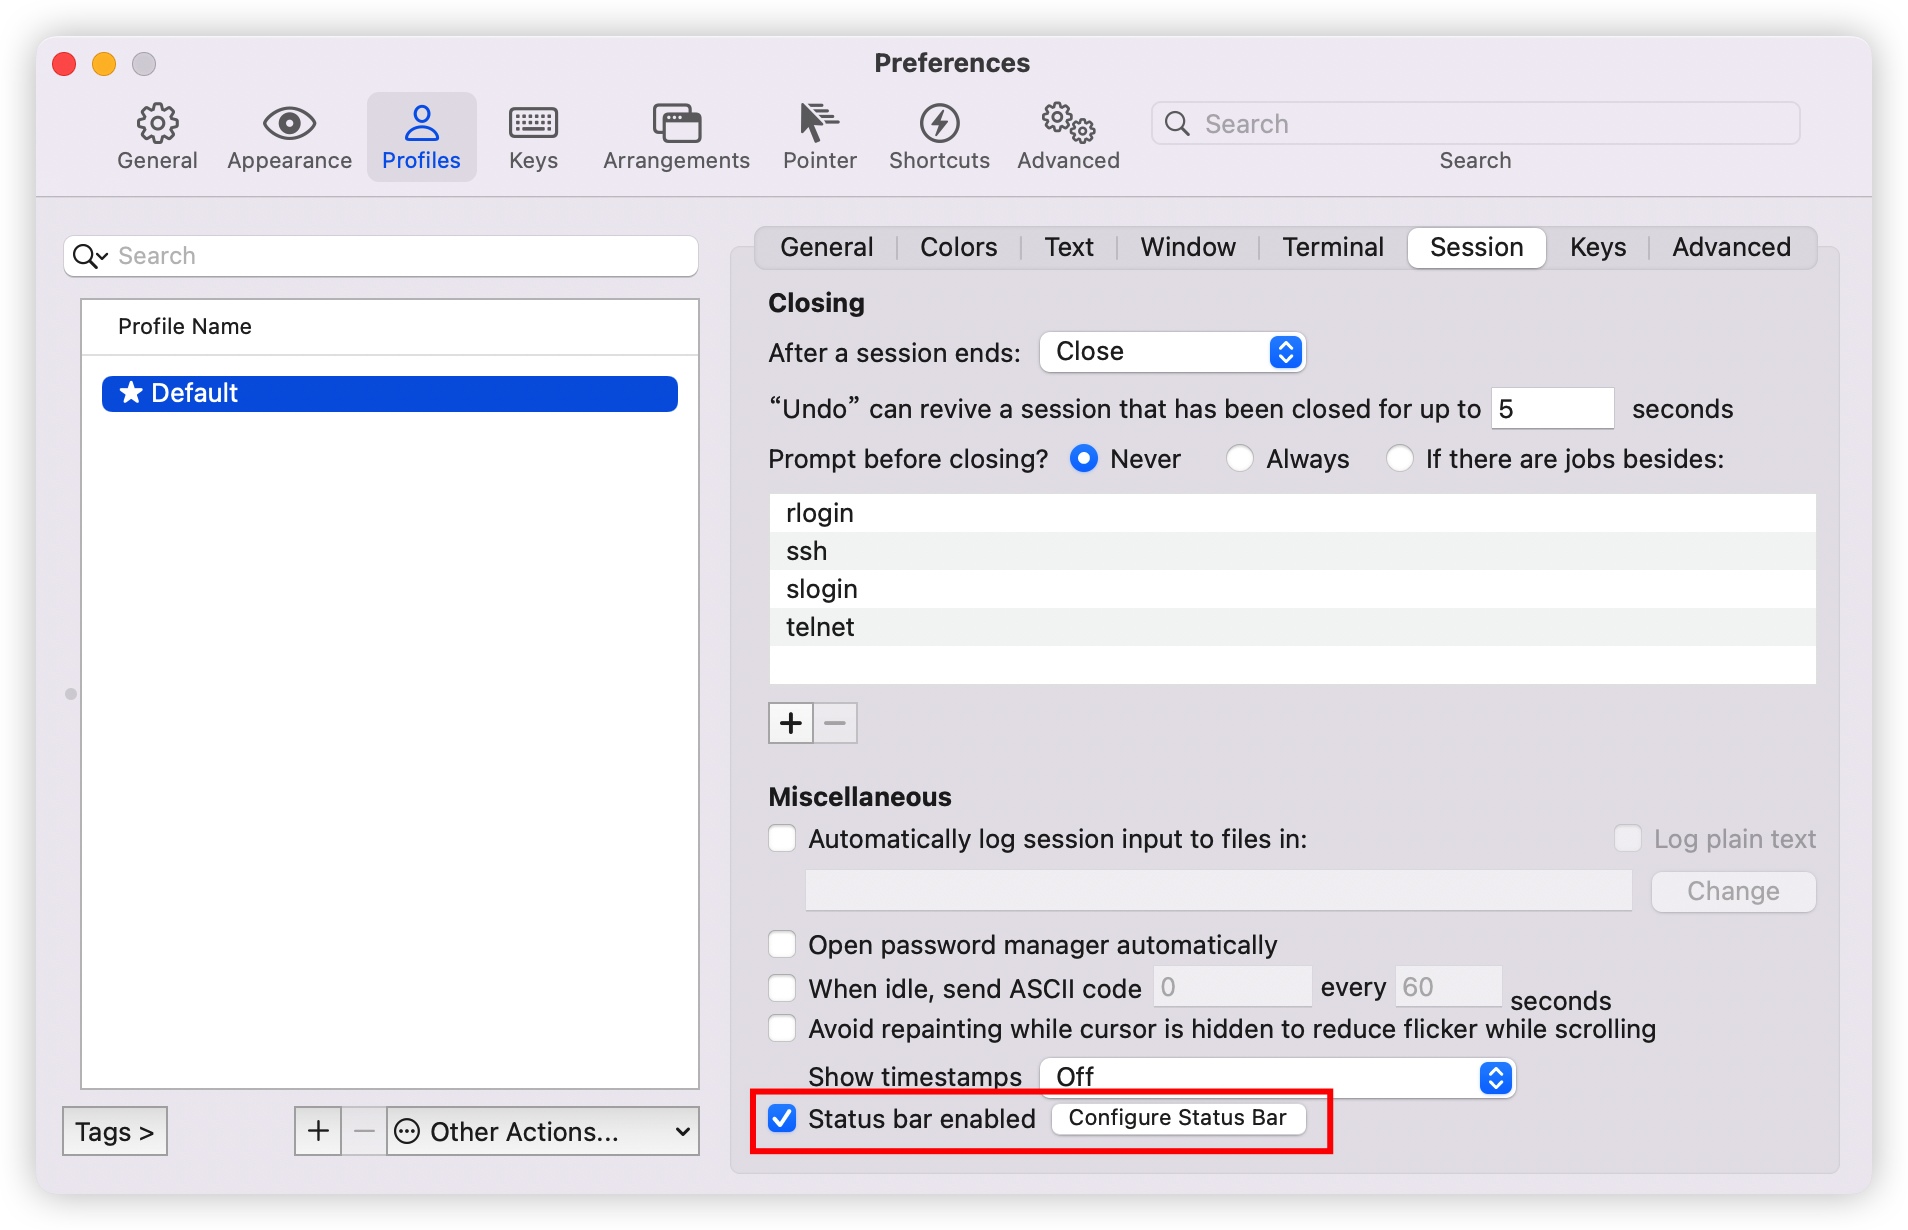
在Profile选项卡中,选择Session
勾选并点击下面的图标
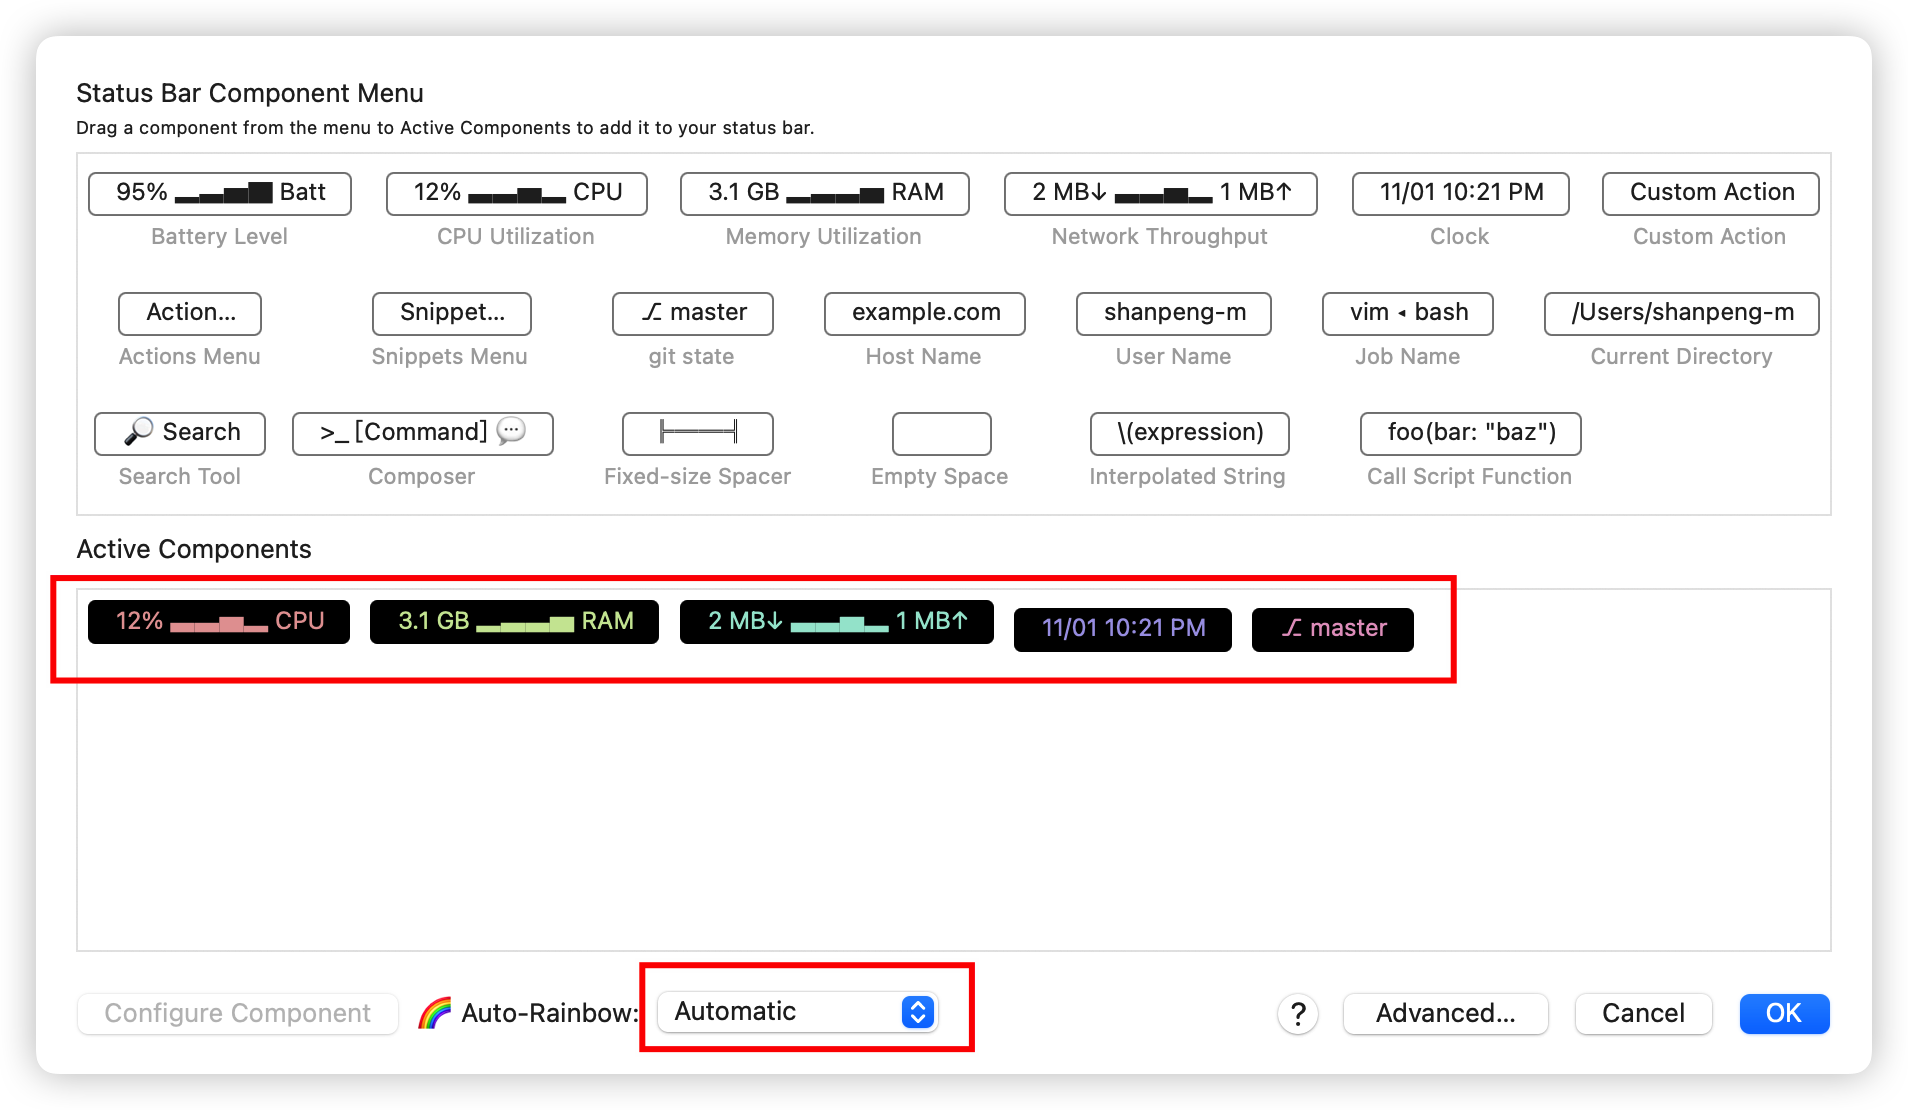
可以按照自己的需求选择小工具和排列
美化iTerm2 和 Zsh
选择一款你喜欢的iTerm2配色
https://github.com/mbadolato/iTerm2-Color-Schemes
挑选一款你喜欢的zsh主题
https://github.com/ohmyzsh/ohmyzsh/wiki/Themes
我个人比较喜欢cobalt2的配色,并且cobalt2还提供了用于zsh的主题
在这里简单翻译一下cobalt2的配色的安装方法,其他配色和主题的安装方法大同小异。
把cobalt2.zsh-theme文件拖拽到~/.oh-my-zsh/themes/文件夹
打开你的zsh配置文件~/.zshrc,并且把主题配置项修改为:ZSH_THEME=cobalt2
安装Powerline和必备的字体,你可以使用PIP
- 第一次使用PIP的用户,你可以参考PIP安装指南
- 使用PIP安装Powerline
pip install --user powerline-status
安装所需的字体
git clone https://github.com/powerline/fonts
cd fonts
./install.sh
删除fonts目录
cd ..
rm -rf fonts
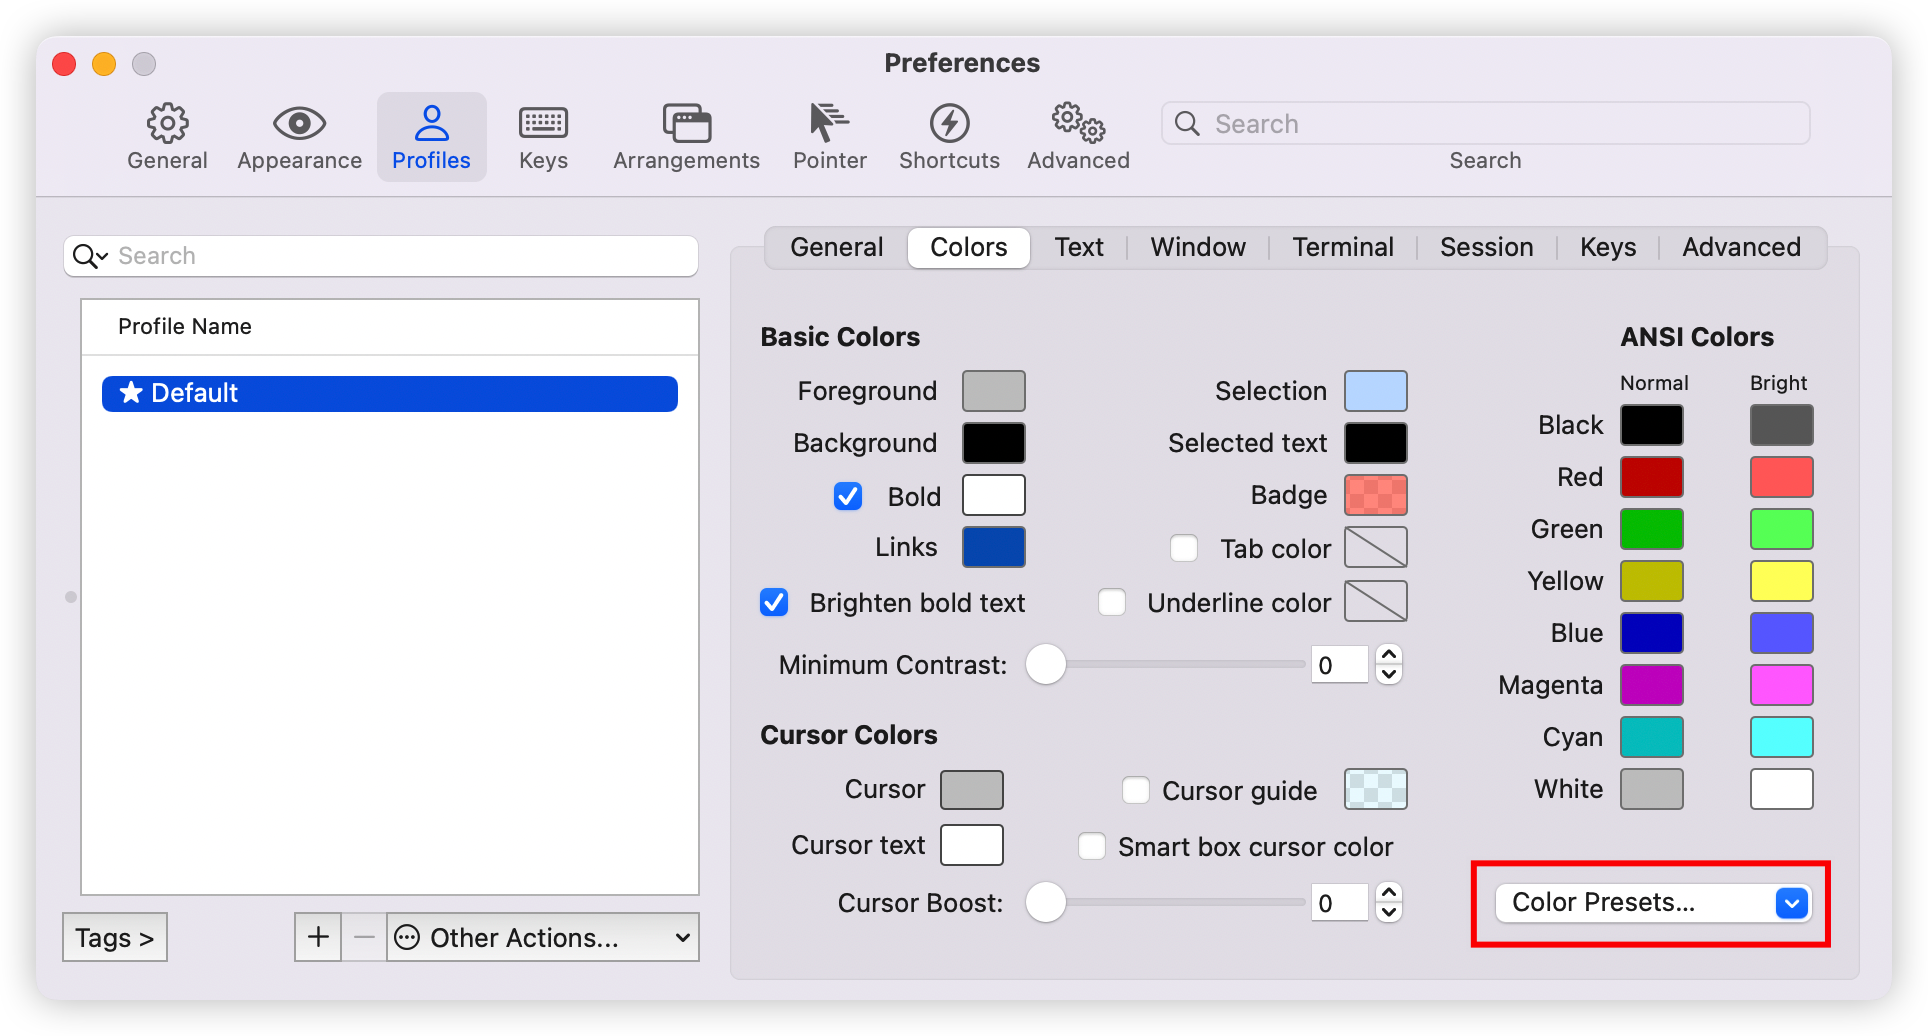
打开iTerm2的 Profiles 标签页,然后选择 Colors 标签页
在右下角的Color presets那里选择导入cobalt2.itermcolors
在Text标签页的 Font 处选择你喜欢的字体,推荐powerline的字体。
在终端输入source ~/.zshrc,刷新你的zsh配置文件
安装插件
zsh-autosuggestions
zsh-autosuggestions是一款命令自动补全的插件。
https://github.com/zsh-users/zsh-autosuggestions
把插件仓库克隆到$ZSH_CUSTOM/plugins (默认位置是 ~/.oh-my-zsh/custom/plugins)
git clone https://github.com/zsh-users/zsh-autosuggestions ${ZSH_CUSTOM:-~/.oh-my-zsh/custom}/plugins/zsh-autosuggestions
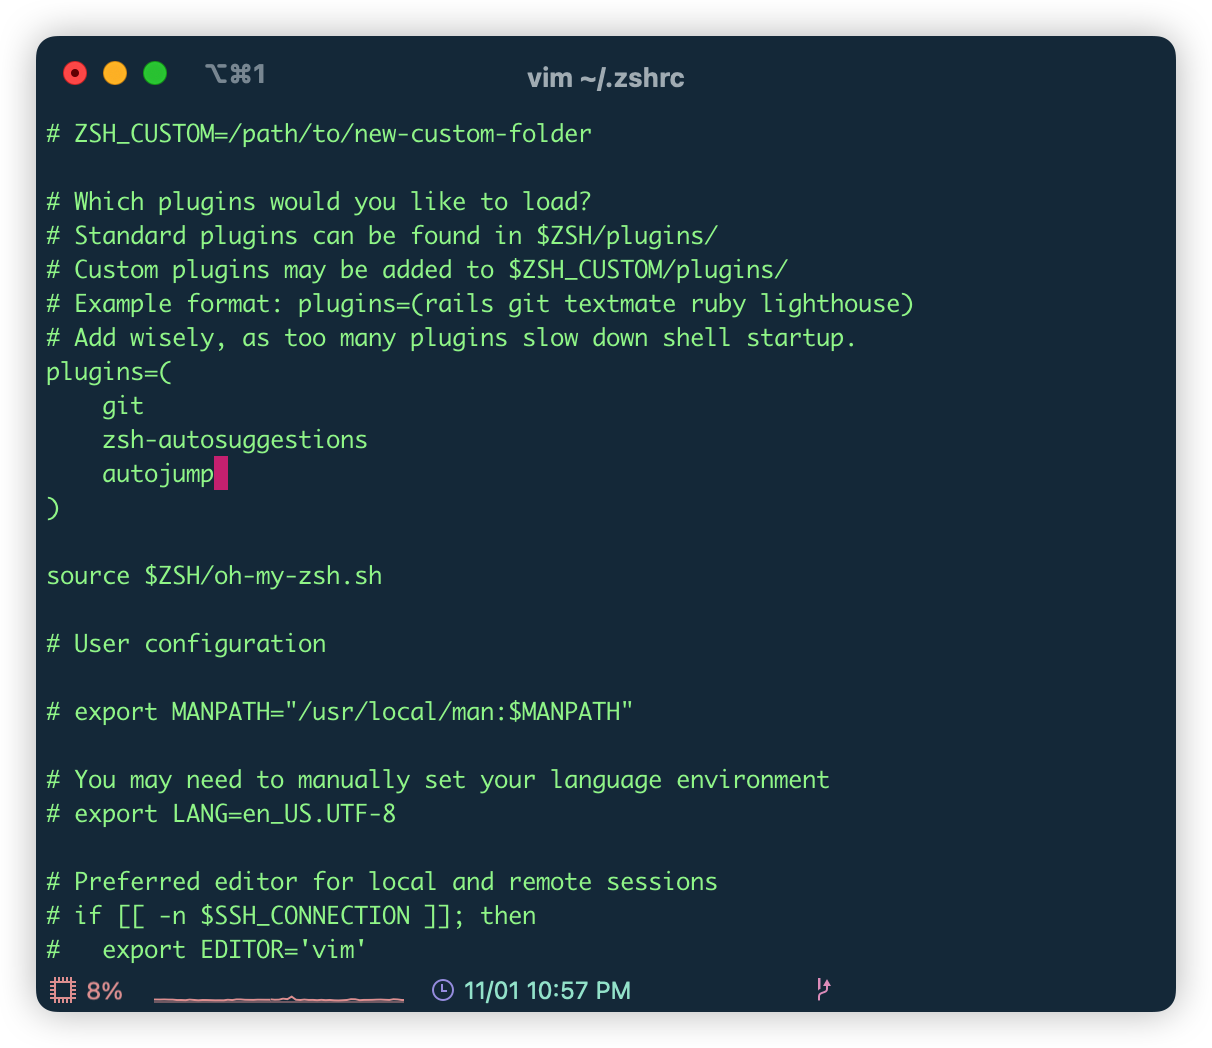
把插件名加入到Oh My Zsh的配置文件中
打开~/.zshrc
plugins=(
    # other plugins...
    zsh-autosuggestions
)
在终端输入source ~/.zshrc,刷新你的zsh配置文件
zsh-syntax-highlighting
zsh-syntax-highlighting是一款用于高亮常用命令的插件。
https://github.com/zsh-users/zsh-syntax-highlighting
首先执行以下命令克隆插件到插件目录
git clone https://github.com/zsh-users/zsh-syntax-highlighting.git ${ZSH_CUSTOM:-~/.oh-my-zsh/custom}/plugins/zsh-syntax-highlighting
把插件名加入到Oh My Zsh的配置文件中
打开~/.zshrc
plugins=(
    # other plugins...
    zsh-syntax-highlighting
)
在终端输入source ~/.zshrc,刷新你的zsh配置文件
autojump
autojump是一款快速跳转文件夹的插件
https://github.com/wting/autojump
首先执行以下命令
brew install autojump
把安装后类似下面的提示文字加入到Oh My Zsh的配置文件~/.zshrc中
[[ -s /Users/xxxxxx/.autojump/etc/profile.d/autojump.sh ]] && source /Users/xxxxxx/.autojump/etc/profile.d/autojump.sh
在终端输入source ~/.zshrc,刷新你的zsh配置文件
修改vim配色
https://github.com/altercation/vim-colors-solarized
git clone https://github.com/altercation/vim-colors-solarized.git
mkdir -vp ~/.vim/colors/
cd solarized/vim-colors-solarized/colors
cp solarized.vim ~/.vim/colors/
vi ~/.vimrc
在这个文件中输入
syntax enable
set nu
let g:solarized_termtrans = 1
set background=dark
colorscheme solarized
v
保存即可。
安装coreutils
coreutils可以使ls命令执行后高亮显示文件和文件夹名
首先执行以下命令
brew install coreutils
输入以下命令生成颜色定义文件
gdircolors --print-database > ~/.dir_colors
打开~/.zshrc,输入以下代码
if brew list | grep coreutils > /dev/null ; then
  PATH="$(brew --prefix coreutils)/libexec/gnubin:$PATH"
  alias ls='ls -F --show-control-chars --color=auto'
  eval `gdircolors -b $HOME/.dir_colors`
fi